
Templates live under Settings → Templates, in two tabs: Transaction Checklists and Listing Checklists.
- Open the tab you want and click New Template.
- Enter a Template Name and click Create. You land in the template editor.
- Tasks are grouped under the date that drives them (Effective Date, Closing Date, and so on). Click Add Task on a group to add your first task — see setting up automatic due dates for what each field does.
- The template name is editable inline at the top of the editor — click it to rename.
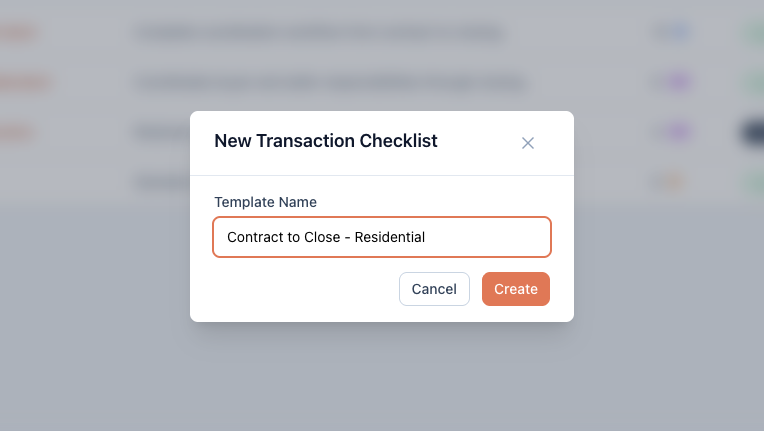
New templates are Active immediately, which means they’ll show up when applying checklists to a transaction.
Managing templates from the list
Each row in the template list has three quick actions:
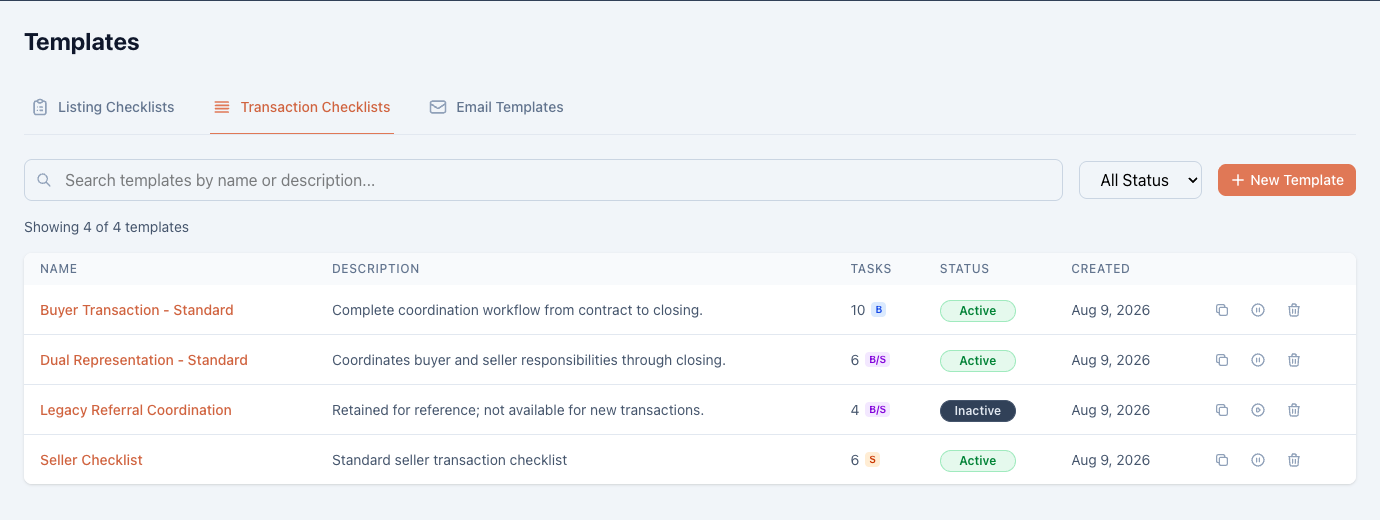
- Duplicate — copies the whole template as “Name (Copy)”. The fastest way to build a variation without starting over.
- Deactivate — keeps the template in Settings but removes it from the pickers on transactions. Use this for seasonal or retired checklists you might want back.
- Delete — removes it permanently from your lists. Transactions that already have the checklist applied keep their tasks.
A practical starting point: build one solid contract-to-close template, duplicate it, and adjust the copy — rather than building each new variation from a blank page.