
The summary PDF isn’t a dump of the whole transaction — you curate it. Tasks and notes only appear if they’re flagged for the summary, so the workflow is: set the flags, then generate the PDF.
Flagging tasks
- Open the task (from the checklist or the task list).
- In the task form, find Summary Display — “Select where this task should appear on the transaction summary.”
- Check Critical Dates, Key Tasks, or both.
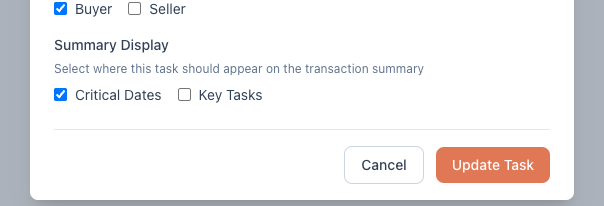
Critical Dates renders as a date-sorted milestone list near the top of the PDF — deadlines, contingencies, closing. Key Tasks is a checklist-style section further down; completed items print struck-through, which is a nice at-a-glance progress signal for agents.
Flag these once on your checklist template and every transaction you apply it to inherits the right summary layout.
Flagging notes
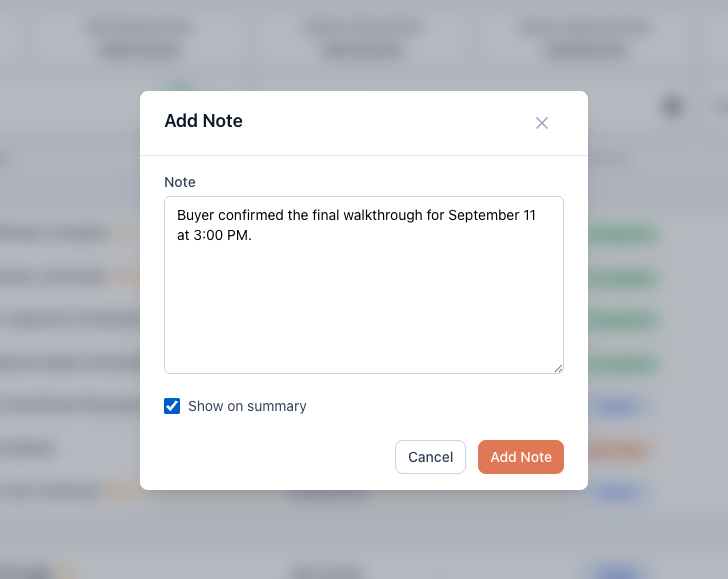
When adding a note, check Show on summary. You can also toggle it later from the Activity tab — look for the Show on summary / Hide from summary control on each note.
Good to know
- Critical Dates shows the 15 earliest flagged items. If you flag more than 15, the latest ones drop off the printed list — keep the flag for genuine milestones and let routine tasks live in Key Tasks, which has no limit.
- One contact per role prints. Parties (buyers/sellers) can list several people, but roles like lender, title, and each agent show the first contact only — put the primary person first.
- Contract fields (price, dates, terms) appear automatically when they’re filled in; sections with no data are simply omitted.