
Summary PDFs carry your branding: your logo in the header and your brand color on the title and section headings. Both are set once, account-wide.
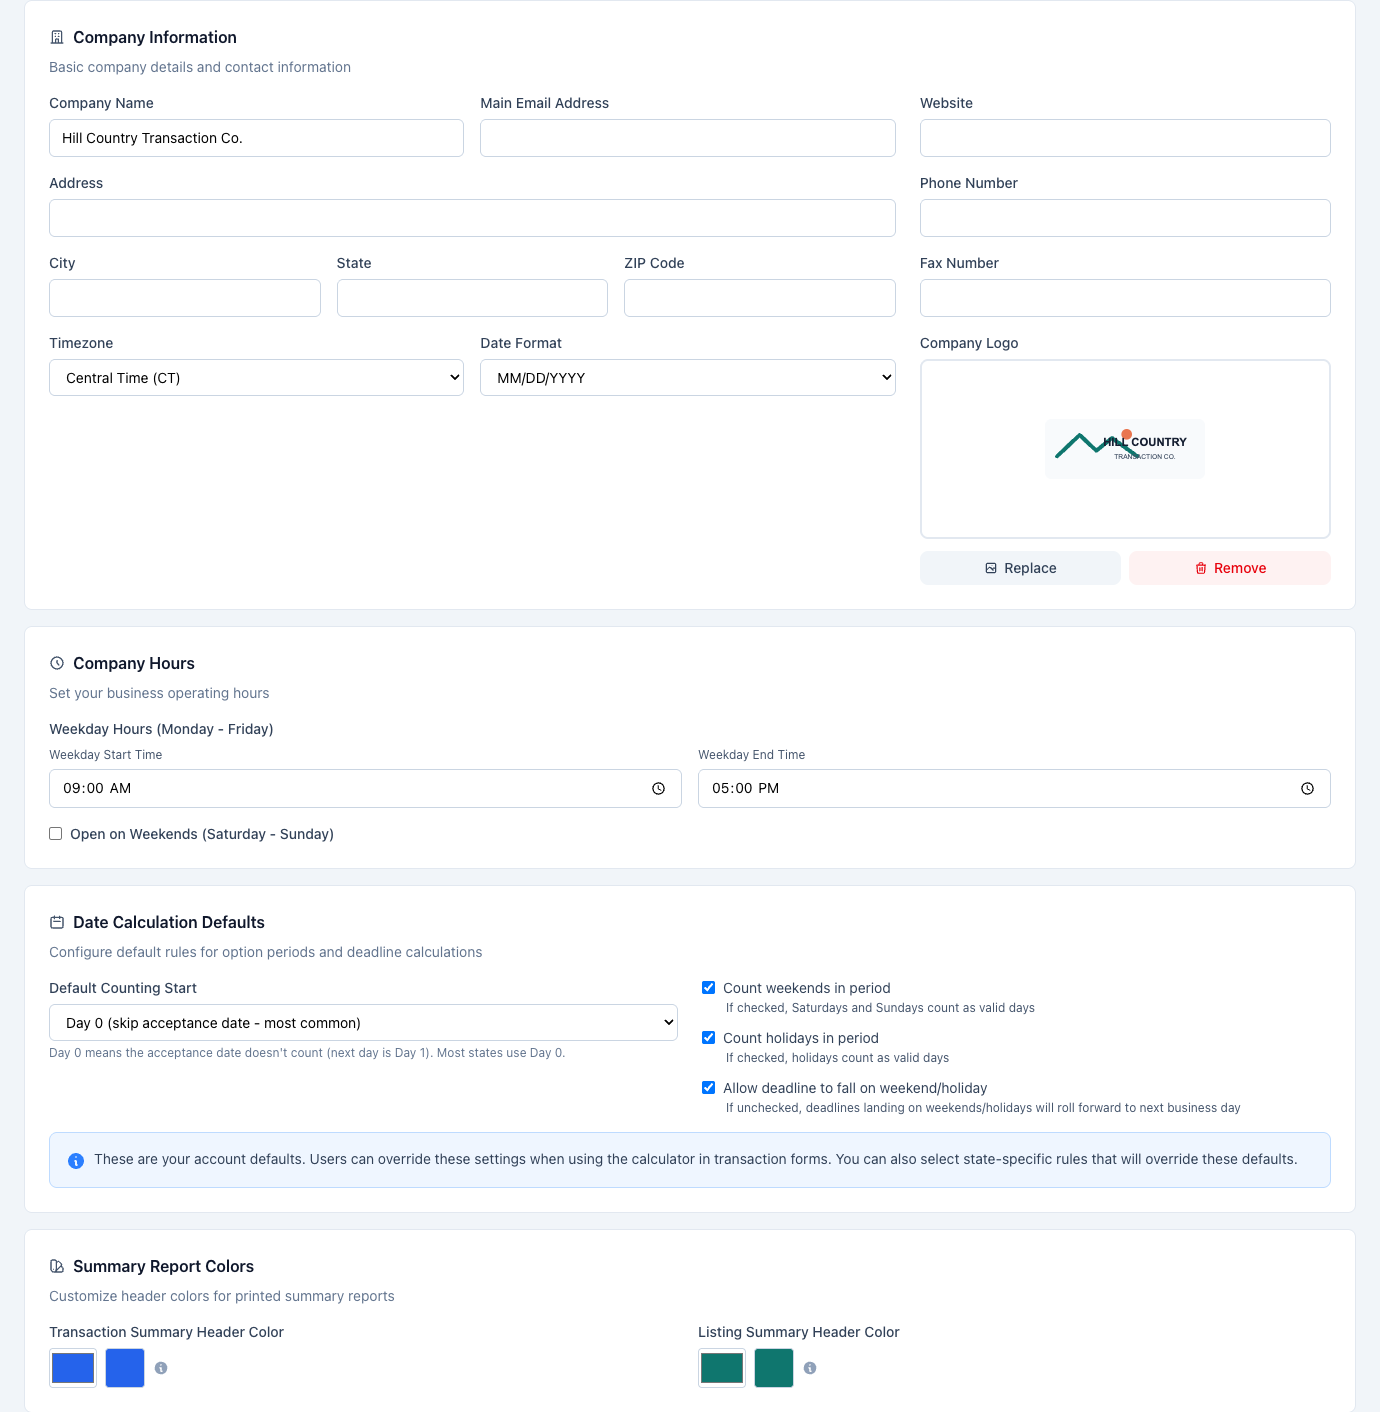
- Go to Settings → Company Settings. (You’ll need the Manage Account permission.)
- In Company Information, upload your Company Logo — PNG, JPG, or SVG, up to 500KB. To change an existing logo, use Replace or Remove.
- In Summary Report Colors, pick your Transaction Summary Header Color. The default is a deep navy.
- Click Save Changes.
The next PDF you generate uses the new branding — regenerate any summary you had open.
Tips for branding that prints well
- Use a PNG with a transparent background. SVG logos are accepted but can render inconsistently in the PDF itself even when they look right on screen.
- Squarish logos sit best. The header scales logos to a fixed height, so a very wide banner-style logo will crowd the address block beside it.
- Pick a mid-to-dark brand color. The color drives the header text and section accents against a white page — very light colors wash out, and there’s no warning if they do.
Working with a client who wants their own branding instead of yours? Set that per client — see white-label summaries with client branding.